Scanning Styli
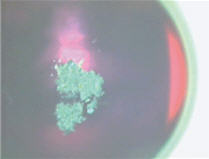
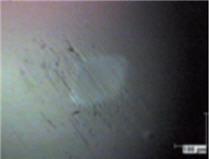
Wear on the ball is minimal in point measurements because the ball only touches the surface for a short time. Scanning, however, requires the ball to remain in contact with the surface continuously, thus causing wear and tear and impurities to build on the ball's surface, thus causing measurement errors. One simple solution is to use a dry, lint-free cloth to wipe the surface of the ball. Small amounts of rubbing alcohol may also be used, but be sure not to let the alcohol come in contact with any intersections.
Some sphere problems are unavoidable when doing scanning measurements. For example, measurements of cast iron cause wear and tear on both the workpiece and the ball from the very small pieces of residue on the surface. Zirconia balls work best for this application.


itpstyli not only offers an extensive range of standard styli, but also offers the Design Your Own styli option where you can create a custom stylus that fits your specific application.


