


 sales@itpstyli.com


8/17/26
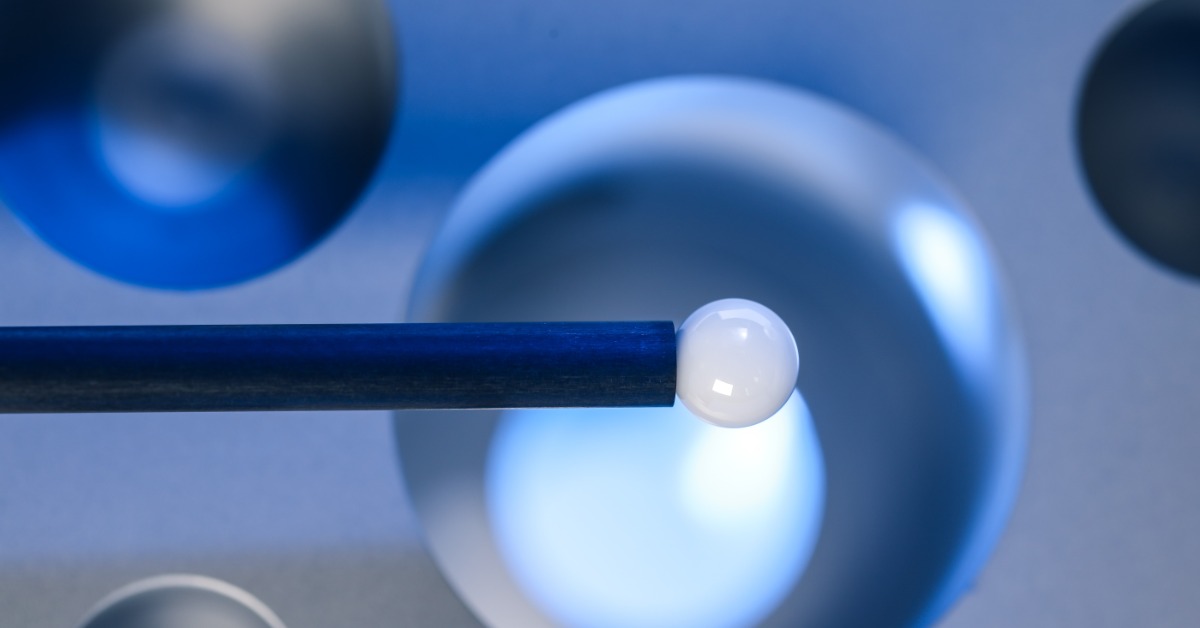
Tips for Seamless Calibration Sphere Mounting
A calibration sphere looks like a small setup detail until a slight shift throws the entire scan into question. The mount decides whether the sphere holds its position cleanly or introduces doubt before measurement begins. For teams that rely on precise inspection routines, tips for seamless calibration sphere mounting turn a basic installation step into a stronger control point. Better mounting choices lead to steadier calibration and fewer frustrations on the floor.
Choose the Right Mounting Interface for Your Calibration
The mounting interface sets the foundation for the entire calibration process. A probe calibration sphere must match the fixture style used in the inspection environment. A mismatch might still look secure at first glance, yet it introduces unwanted play where the sphere meets the mount.
Choose an interface that supports the sphere without forcing the setup into an awkward angle. When the mounting point fits cleanly, the operator spends less time compensating for instability and more time confirming the system’s response. The right connection should look simple because the geometry is doing the work.
Prepare the Sphere and Mounting Surface Before Installation
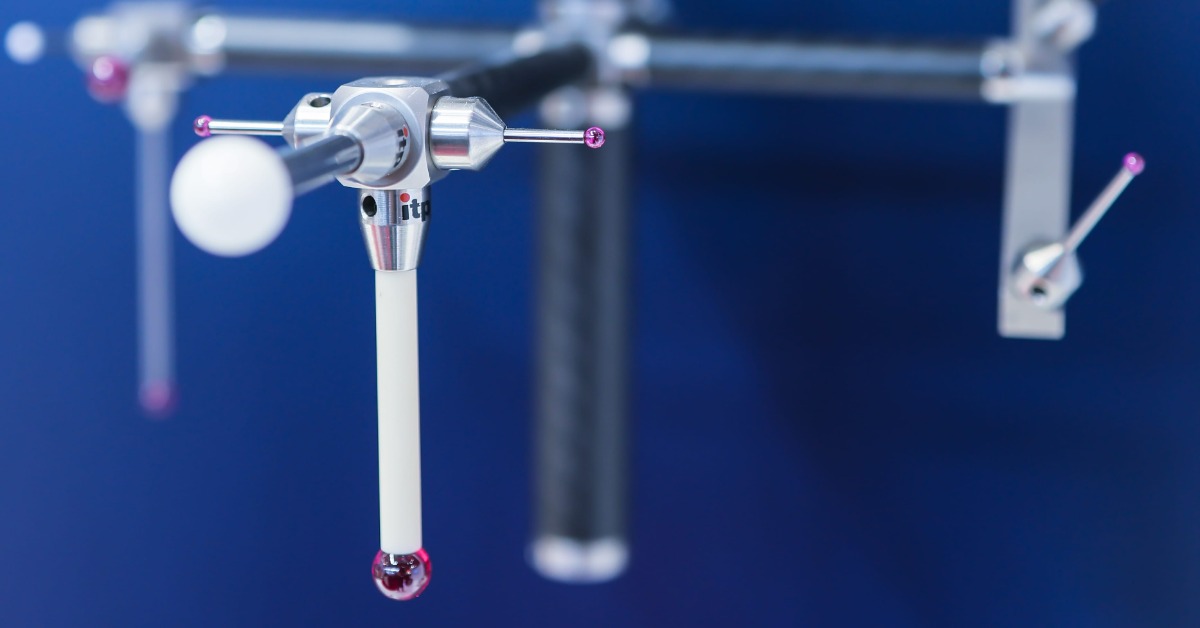
Surface condition influences how well the sphere seats. Dust, oil, or small chips between the mount and base interfere with contact, even when the hardware appears tight. Clean both surfaces before installation and inspect the connection point for wear.
Preparation should be part of the calibration routine. It belongs to the same accuracy routine. A sphere mounted on a clean, flat surface starts with better mechanical condition, reducing uncertainty during verification. That first point of contact shapes the quality of every check that follows.
Position the Sphere for Optimal Scanner Visibility
Scanner visibility depends as much on sightlines as on sphere placement. The sphere should sit where the scanner can reach it without obstruction by machine components or part geometry. A clear view supports cleaner data capture and decreases the need for repositioning.
Placement should serve the calibration objective. A convenient location is not always the strongest location if the scanner views only part of the sphere. Set the sphere so that the scanning path remains open and the system reads the surface consistently. Strong visibility allows the scan routine to proceed with fewer interruptions.
Mount the Sphere Securely Without Over-Tightening
A secure mount should hold firm without stressing the hardware. Over-tightening creates a risk at the connection point, which affects repeatability over time. Tighten the sphere until it seats properly, then stop before force becomes the main source of stability.
The best mounting pressure stays controlled. Operators should avoid using excessive leverage to solve a fit issue. If a connection requires that much force, the better approach is to inspect the interface and confirm that the correct hardware is being used. Good technique protects both the sphere and the mounting system.
Verify Alignment Using Reference Points or Markers
Alignment checks provide a quick way to confirm that the sphere is sitting where the measurement routine expects it. Reference points or markers help the operator return to a known location without relying on memory. They create visual consistency from one setup to the next.
Use markers that are easy to identify without crowding the work area. A clean reference approach supports the same placement each time, so teams spot a shifted sphere before calibration data raises questions. Alignment habits are strongest when they are visible and tied to the actual setup.
Avoid Common Mounting Mistakes That Compromise Accuracy
Mounting errors usually begin with small assumptions. A sphere placed on an uneven surface, attached with the wrong adapter, or tightened against debris will not deliver the same result as a stable setup. These problems are simple, yet they affect the confidence of the calibration process.
Avoid rushing the mounting step, as the sphere may look easy to install. The simplicity of the hardware does not remove the need for care. Treat each connection as part of the measurement chain, and accuracy is easier to defend when results are reviewed. A few extra seconds at setup protect much more time later.
Use Multiple Spheres Strategically for Complex Scanning Environments
Large parts and complex scanning paths sometimes require more than one sphere. Multiple spheres maintain system calibration references across a wider working area. Their value depends on thoughtful placement, not merely on adding more targets.
Space each sphere so that it supports a distinct scan position. Crowding them together reduces their usefulness and complicates the setup. A strategic layout provides the scanner with stable references throughout the inspection area, supporting cleaner transitions between scanning positions. Each sphere should address a placement need created by the scan path.
Maintain Mounting Hardware To Ensure Long-Term Performance
Mounting hardware bears the wear from repeated calibration work. Threads and adapters should be inspected regularly for damage that changes how the sphere seats. Small wear marks indicate that a component may no longer maintain the same level of repeatability.
Store hardware where it stays protected from impact and contamination. Good storage cuts down on the chance of hidden damage showing up during setup. Long-term performance hinges on keeping the mounting system as dependable as the sphere itself. Replacement should occur before worn hardware becomes a measurement concern.
Troubleshoot Mounting Issues Quickly in the Field
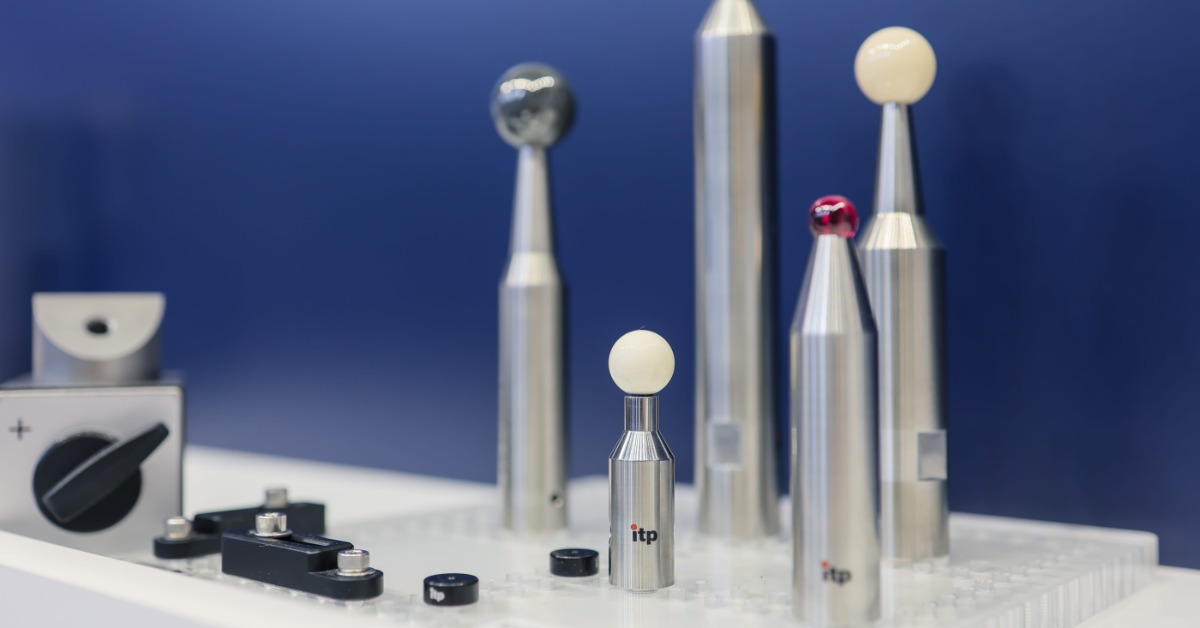
Field issues need a calm, practical check before operators adjust the scanning routine. When results look inconsistent, start with the mount. Confirm the sphere is seated with a clean surface and the connection has not shifted under use.
A quick troubleshooting habit keeps the team from chasing the wrong problem. Scanner settings or software values might appear suspicious, but a loose or poorly seated sphere creates similar symptoms. Checking the physical setup first saves time and protects confidence in the inspection process. The fastest fix is usually the one closest to the source.
Create a Repeatable Mounting Workflow for Consistent Results
A repeatable workflow turns calibration sphere mounting into a controlled routine. The process should define how the surface is cleaned, where the sphere is positioned, how hardware is tightened, and how alignment is checked. Clear steps thwart variation between operators.
Documentation does not need to be complicated. A short procedure tied to the actual inspection environment is easier to follow than a generic instruction sheet. When every setup follows the same sequence, teams gain stronger confidence in the calibration routine. Reliable mounting supports reliable measurement before inspection begins.
A calibration sphere should bring confidence to the inspection process, not introduce another point of doubt. When the mounting approach is steady and repeatable, the calibration routine has a stronger foundation before the scanner starts collecting data. Tips for seamless calibration sphere mounting turn setup discipline into cleaner measurement work across the floor.