


 sales@itpstyli.com


8/21/26
How To Prepare Probes for Gear Measurement Tasks
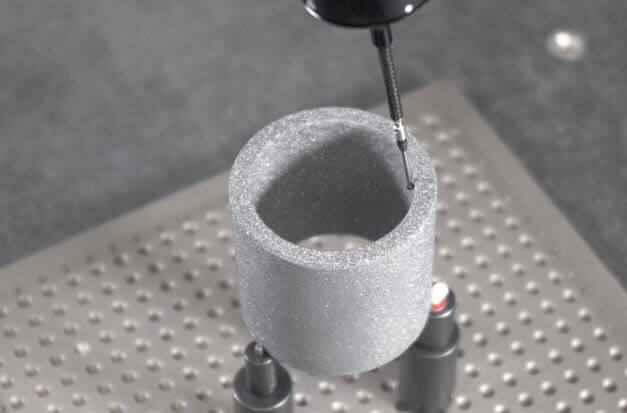
Preparing probes may seem like a small step, yet it shapes the quality of every gear inspection that follows. If you want reliable results, taking the time to prepare probes for gear measurement tasks helps you avoid preventable errors before the measuring process begins. Every probe setup deserves careful attention because small adjustments influence accuracy and consistency throughout the inspection. Once you build good preparation habits, you can approach every task with greater confidence.
Start With the Right Probe
To choose a probe, think about the specific gear feature you need to test first. The geometry of the part determines how easily a stylus can reach the inspection point while maintaining stable contact. Choosing a probe with only the reach you need helps improve stability throughout the measurement process.
Next, consider the capabilities of your measuring system. Every coordinate measuring machine (CMM) has practical limits that affect which probe configurations perform well, so your selection should match the machine's intended operating range. When the probe and measuring system work together, you make fewer adjustments and spend more time collecting reliable measurement data.
Match Probe Geometry
If you inspect fine-pitch gears, you may need a smaller stylus ball to access narrow spaces between teeth. Larger gears usually provide additional clearance, giving you greater flexibility when selecting the ball diameter. Every choice should balance access with measurement stability, since extremely small styli require extra care during use.
You should also think about the path the probe will follow. A stylus that reaches the measurement point without contacting nearby gear features gives the measuring machine greater freedom to complete its programmed routine. Reviewing the probe path in advance helps you identify clearance issues, which reduces unnecessary setup changes after the inspection starts.
Inspect Every Component
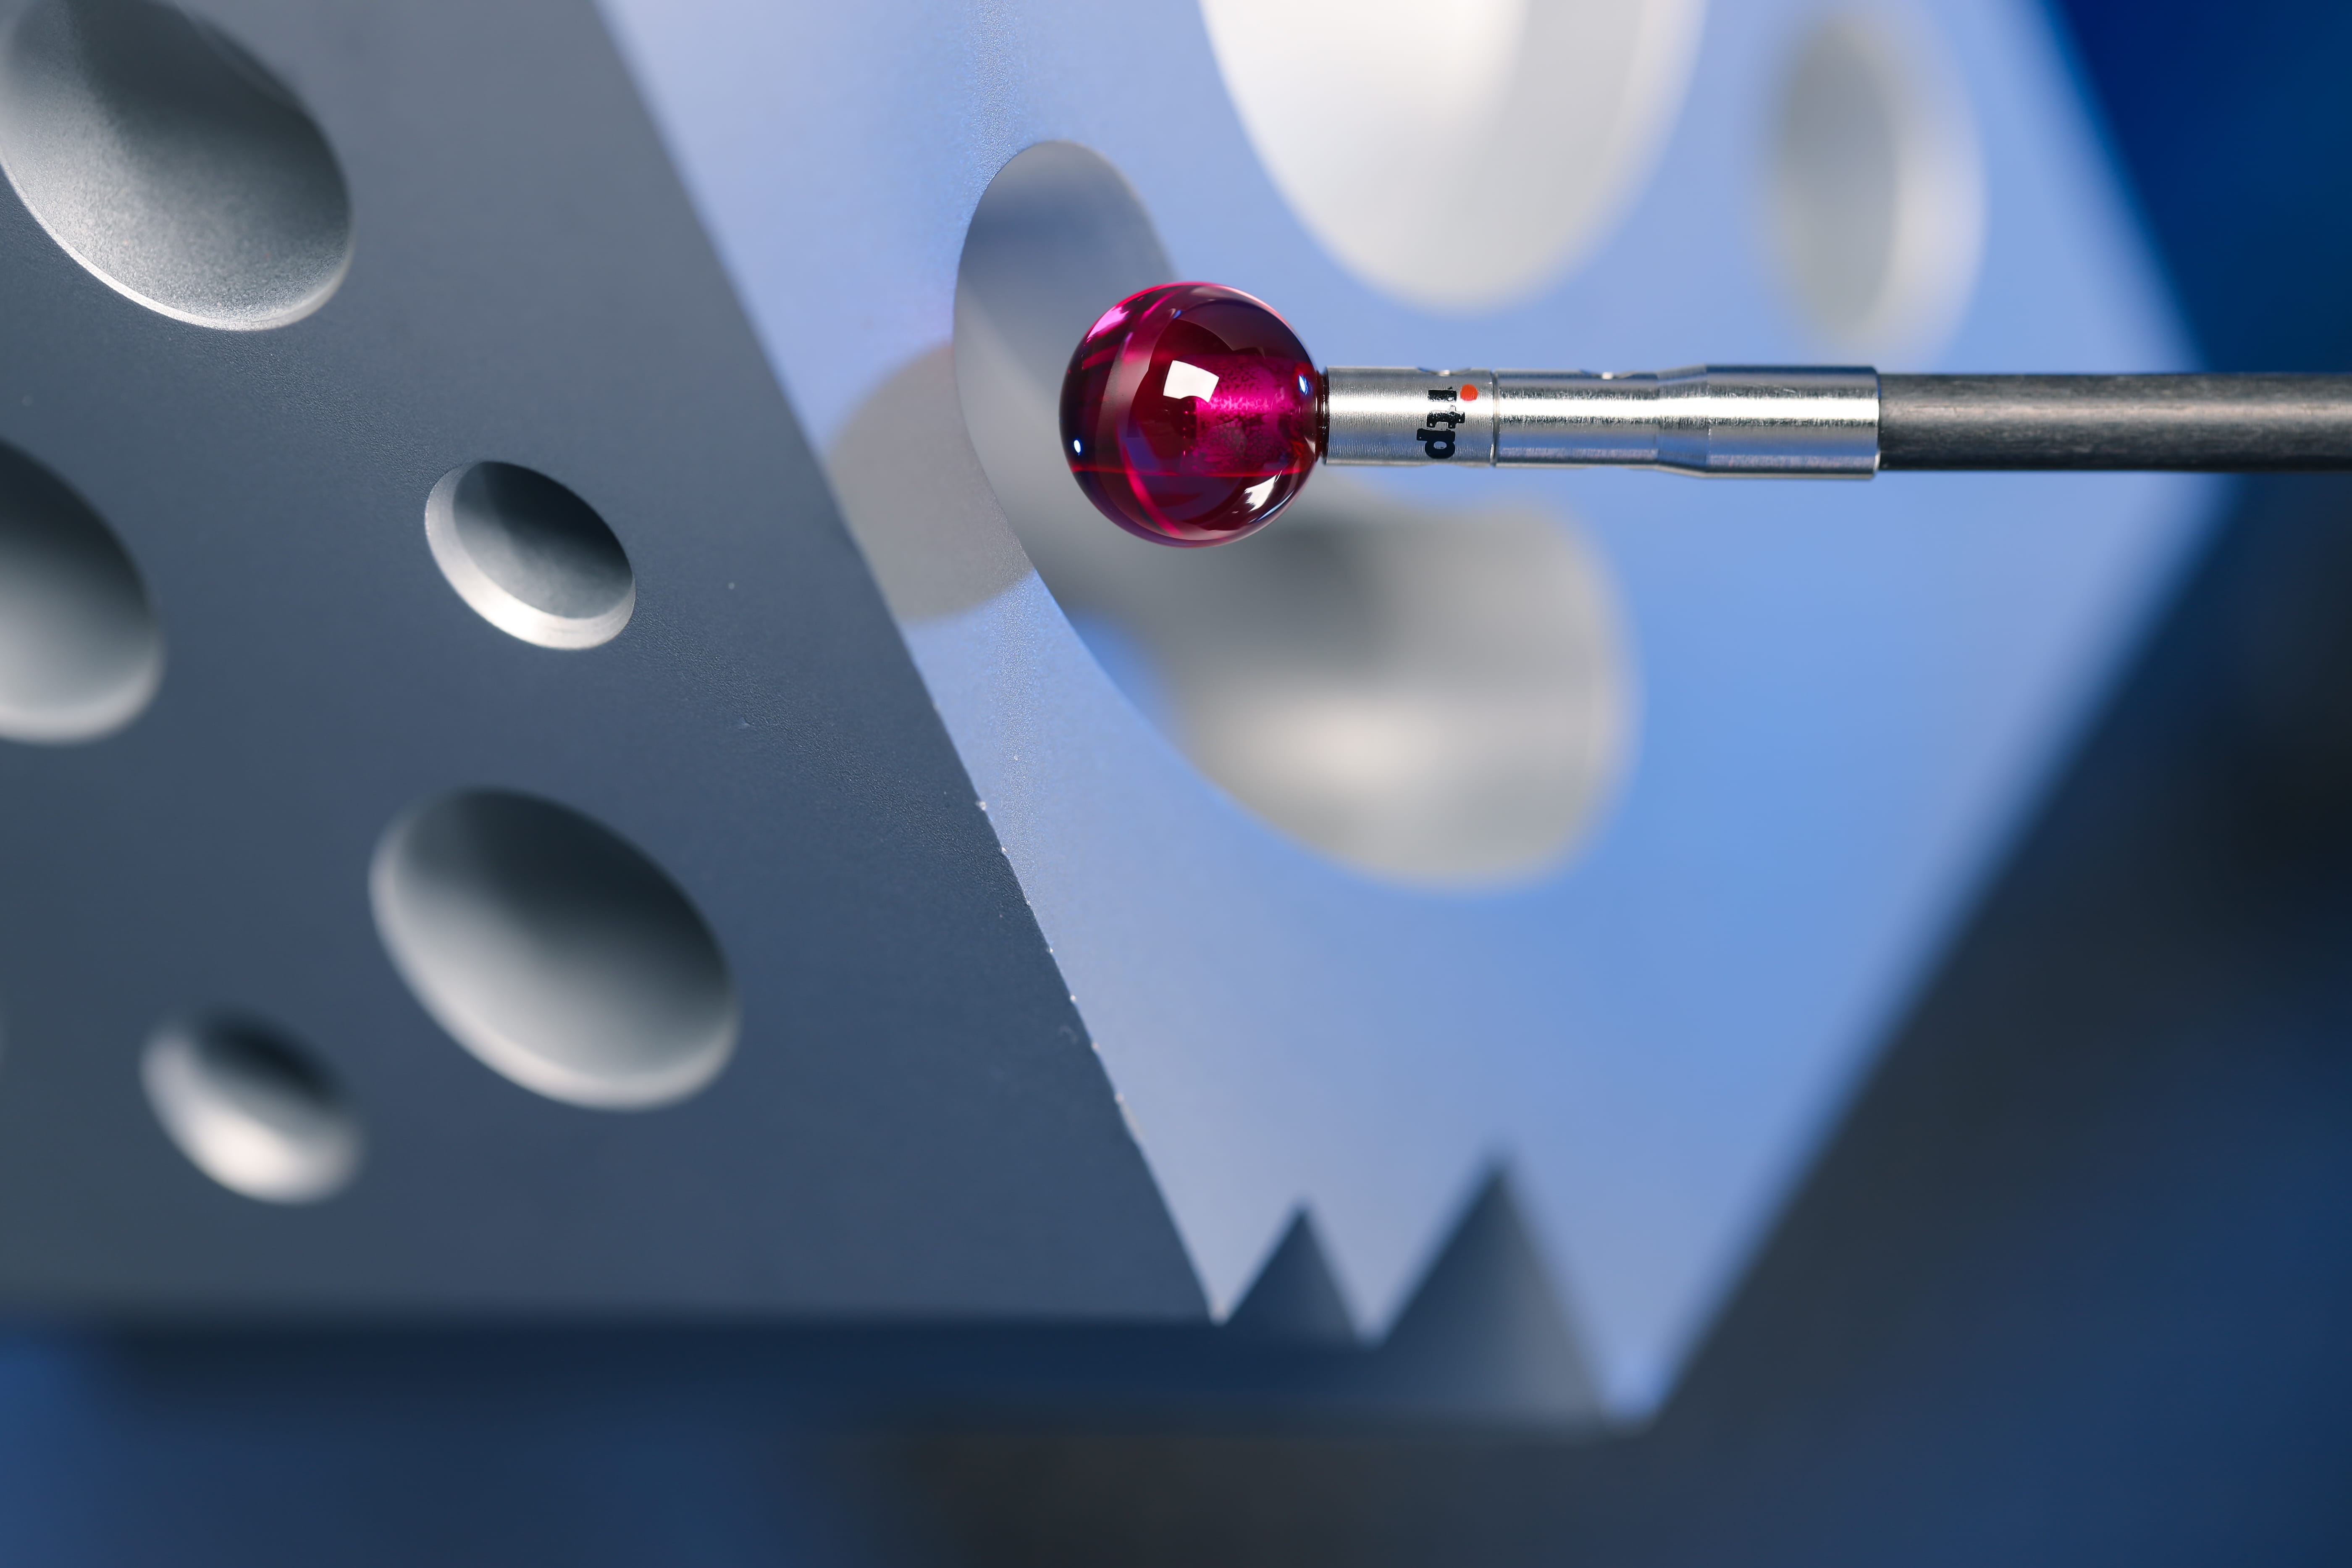
Before you begin measuring, spend a few moments checking every probe component for wear or damage. Small imperfections may affect contact quality during measurement. Likewise, loose connections introduce unnecessary movement that reduces repeatability.
Focus on each component by:
- Examining the stylus ball for chips, scratches, or visible wear
- Verifying that threaded connections tighten securely without binding
- Checking extensions and holders for bending or physical damage
- Removing dust, oil, or debris before assembling the probe
- Confirming that every component matches the planned inspection setup
Build a Stable Assembly
Once you have selected the right components, assemble the probe carefully and avoid rushing through the process. Every threaded connection should tighten firmly without excessive force, since overtightening may damage delicate parts or affect alignment. As you complete the assembly, confirm that each component sits squarely and remains free of unwanted movement.
When you prepare probes for gear measurement tasks, consistency plays a larger role than speed. Following the same assembly process helps you spot potential issues before they affect inspection results. Consequently, your measurements are easier to repeat across multiple gears and production runs.
Check Extension Length
Longer probe assemblies provide valuable reach when measuring recessed gear features, but every added component changes the stiffness of the setup. If you extend the probe farther than necessary, vibration and deflection become more noticeable during measurement. Choosing the shortest practical configuration creates a stronger balance between accessibility and rigidity.
You may also encounter situations where CMM stylus extensions provide the extra reach needed for difficult inspection points. These precision components fit between the stylus and holder, allowing the probe to access challenging features while maintaining compatibility with the measurement system. Selecting the proper extension length helps you reach hidden areas without adding unnecessary mass to the assembly.
Verify Probe Calibration
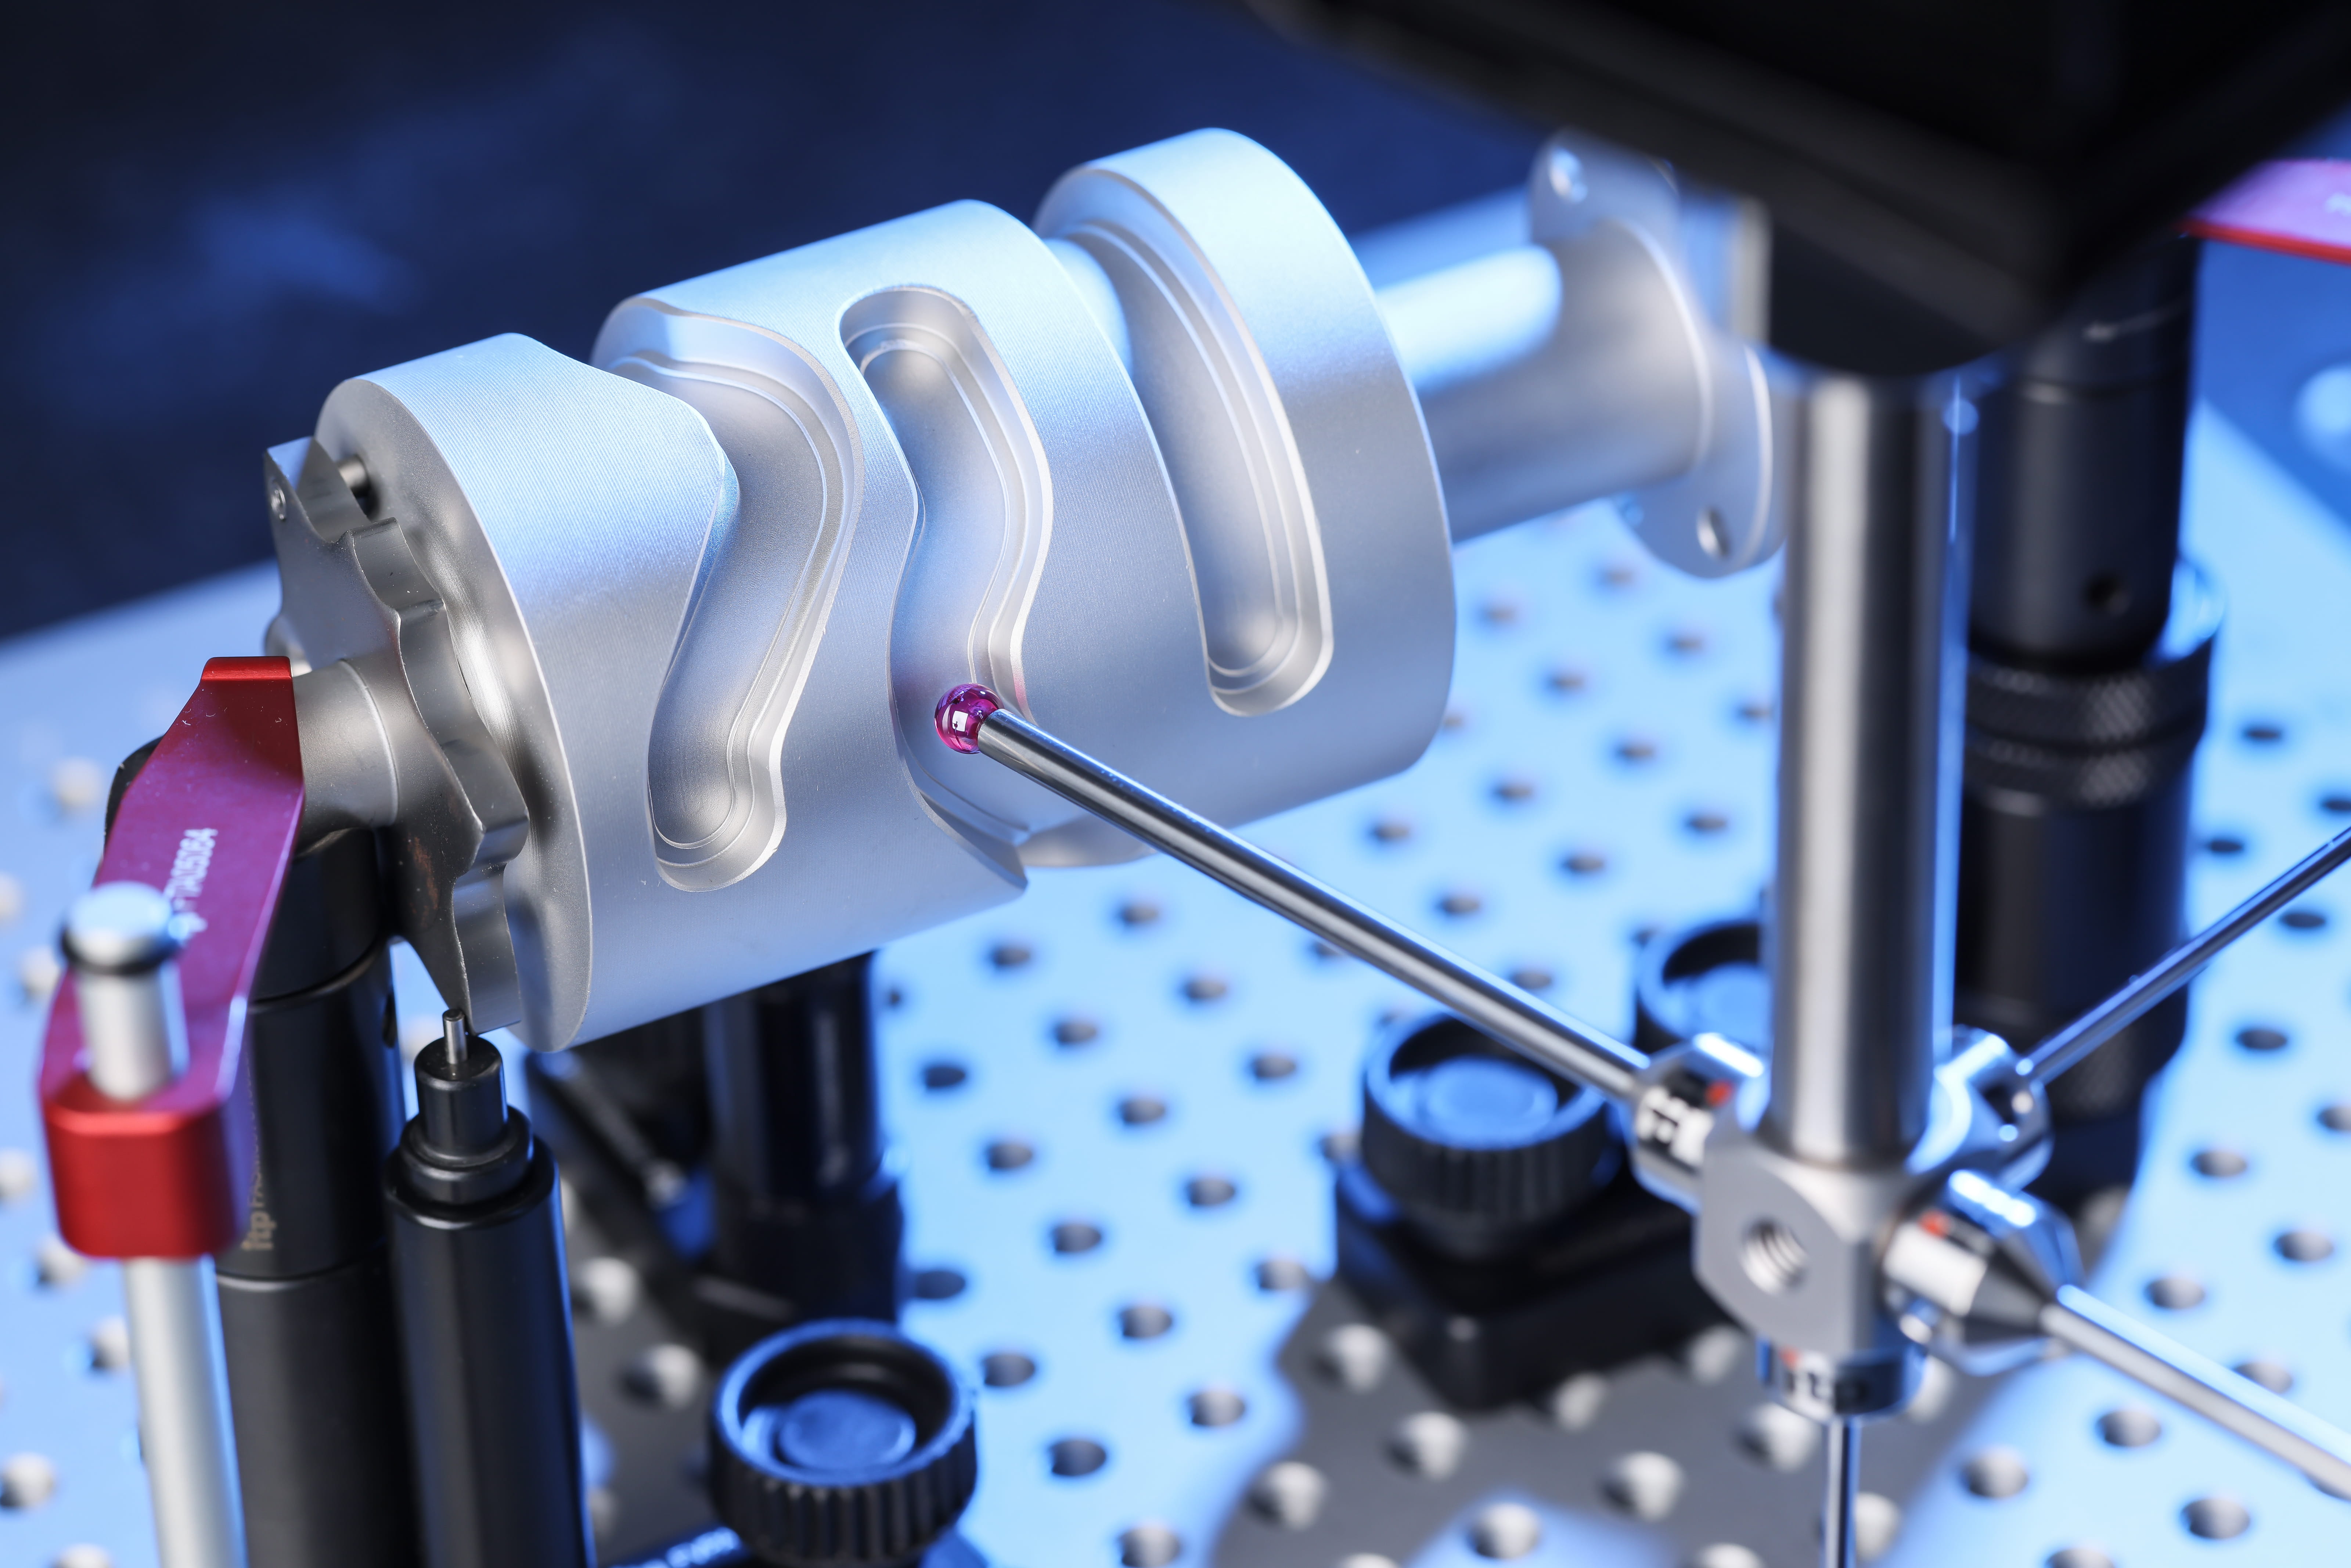
Calibration confirms that the measuring system recognizes the probe configuration. Whenever you replace a stylus or change the probe assembly, you should complete the appropriate calibration routine. Taking this step gives you confidence that the machine interprets contact points correctly.
Careful calibration is easier when you follow a consistent routine, which you can achieve by:
- Completing calibration after changing any probe component
- Using a clean, certified calibration sphere that remains in good condition
- Allowing the measuring machine to finish the full calibration sequence without interruption
- Reviewing the calibration results before measuring production parts
- Repeating the process whenever the probe configuration changes
Reduce Measurement Errors
Every successful inspection depends on steady contact between the probe and the gear surface. Quick movements or poor alignment increase the chance of inconsistent readings during the measuring cycle. As a result, taking a little extra time with the details supports smoother operation throughout the entire process.
Watch Environmental Conditions
Temperature changes affect measurement accuracy because both the equipment and the part respond to shifts in the surrounding environment. To correctly start an inspection, give the gear and the probe enough time to adjust to the same ambient temperature as the measuring machine. Once everything reaches a stable condition, you can expect more consistent measurement results. Meanwhile, keeping the inspection area clean helps protect the probe from dust and other contaminants that could interfere with accurate contact.
Handle Probes Carefully
You should treat every probe assembly as a precision measuring instrument, even during storage and transport. Careless handling may damage the stylus ball or loosen threaded connections before the next inspection begins. Simple habits like placing probes in protective holders and avoiding unnecessary contact with hard surfaces help preserve their accuracy.
You will also get better long-term performance by storing components in an organized location after each job. Organized storage makes future setups faster because you can quickly identify the correct stylus, holder, or extension for the next application. Additionally, routine care extends the useful life of precision measuring accessories.
Closing Thoughts
Every successful gear inspection begins with careful preparation. Small decisions made during probe selection and setup influence the consistency of every reading that follows. When you approach each inspection with the same disciplined process, reliable measurement becomes a repeatable outcome.
Quality components support that process by helping you maintain a stable probe setup throughout demanding inspection work. As your measurement requirements change, using precision accessories that match the application keeps your workflow efficient. If you need replacement styli or custom probe solutions, itpstyli offers components that support demanding gear measurement applications with dependable quality. Explore our available options and choose components that help you get the most from every measurement.