1/29/26

Understanding ISO Standards for Calibration Spheres
Every measurement tells a story about your standards and your promise to customers. Reliable coordinate measuring machines start with effective calibration using quality reference artifacts. For any professional in metrology, understanding ISO standards for calibration spheres is essential to consistent results. These guidelines set the foundation for accurate, trustworthy measurements.
Overview of Key ISO Standards for Calibration Spheres
International standards maintain consistency across global supply chains. Several specific ISO regulations dictate the manufacturing and application of these reference artifacts.
ISO 10360 Series
The ISO 10360 series is the primary standard for acceptance and reverification tests for CMMs. While it largely focuses on the machine's performance, it explicitly relies on the quality of the test artifacts. Part 5 of this series specifically addresses the probing system's performance, which requires a reference sphere of known quality to verify that the CMM reads accurately within its specified volume.
ISO 3290 and ISO 26602
These standards define the physical characteristics of the balls used in rolling bearings and metrology. They establish the "grade" system (e.g., G5, G10, G25) to classify balls based on their geometric precision. ISO 3290 focuses on metal balls, while ISO 26602 covers silicon nitride (ceramic) balls. In metrology, higher grades (lower numbers, such as G5 or G3) signify tighter tolerances, which are essential for mastering high-precision probes.
ISO 14253
This standard governs the inspection of workpieces and measuring equipment. It establishes the rules for proving conformity or nonconformity with specifications. It dictates how measurement uncertainty impacts the decision to accept or reject a calibration sphere based on its certified values.

Critical Specifications Defined by ISO Standards
A calibration spheres looks simple, but its manufacturing involves extreme complexity. ISO standards define several critical specifications that manufacturers must strictly control.
Diameter Tolerance
The actual diameter of the sphere must match its certified value within a microscopic margin. While the CMM software compensates for the diameter, deviations from the nominal size can cause calculation errors in older software or specific scanning routines.
Sphericity and Roundness
Sphericity is arguably the most critical attribute. The artifact must be perfectly round. If the sphere has an oval shape or flat spots, the CMM will interpret these physical defects as probe errors. ISO standards strictly limit deviation from a perfect circle, often requiring roundness within a fraction of a micron for high-grade metrology spheres.
Surface Finish
The surface roughness affects how the stylus tip interacts with the sphere. A rough surface causes friction and inconsistent triggering points for touch-trigger probes. Standards require a polished, mirror-like finish to guarantee that the stylus contacts the surface cleanly without microscopic drag.
Thermal Stability
Materials expand and contract with temperature changes. ISO standards often recommend materials with low coefficients of thermal expansion for calibration artifacts. This stability prevents the sphere's diameter from changing noticeably between a cool morning and a warm afternoon on the shop floor.
Mounting and Stem Tolerances
The connection between the sphere and its stem must be rigid. ISO protocols imply that the mounting system must not deflect during the probing cycle. The stem must position the sphere at a height and angle that allows the probe to access the equator and the pole without collision or vibration.
How ISO Standards Influence CMM Performance
Adherence to ISO standards directly correlates with the performance and reliability of a CMM. When a CMM is calibrated using a sphere that meets strict ISO specifications, users can have high confidence in the machine's subsequent measurements. These standards create a chain of traceability, linking the measurements made on the shop floor back to national and international metrology laboratories.
This unbroken chain is often a requirement for regulatory compliance, particularly in the aerospace, medical, and automotive sectors. Using noncompliant or uncertified artifacts breaks this chain and introduces uncertainty, potentially leading to costly production errors or product failures.
Inspection, Care, and Replacement Best Practices
Even the hardest ceramic sphere will degrade over time. Regular maintenance preserves the integrity of the reference artifact.
Operators should clean the sphere before every qualification routine. Dust, oil, and coolant residue form a film that changes the ball's effective diameter. Use a lint-free cloth and a specialized cleaning solution designed for metrology equipment. Avoid harsh solvents that might degrade the bonding agent holding the sphere to the stem.
Inspect the surface visually under magnification. Look for scratches, pits, or flat spots. A dropped sphere is a compromised sphere; replacing it is safer than risking bad data. Best practices suggest sending master artifacts out for recertification annually to verify that they still meet ISO specifications for diameter and roundness.

The Role of Accessories and Styli in Maintaining ISO Compliance
A perfect calibration sphere cannot compensate for a poor stylus system. The entire measurement chain must function as a cohesive unit.
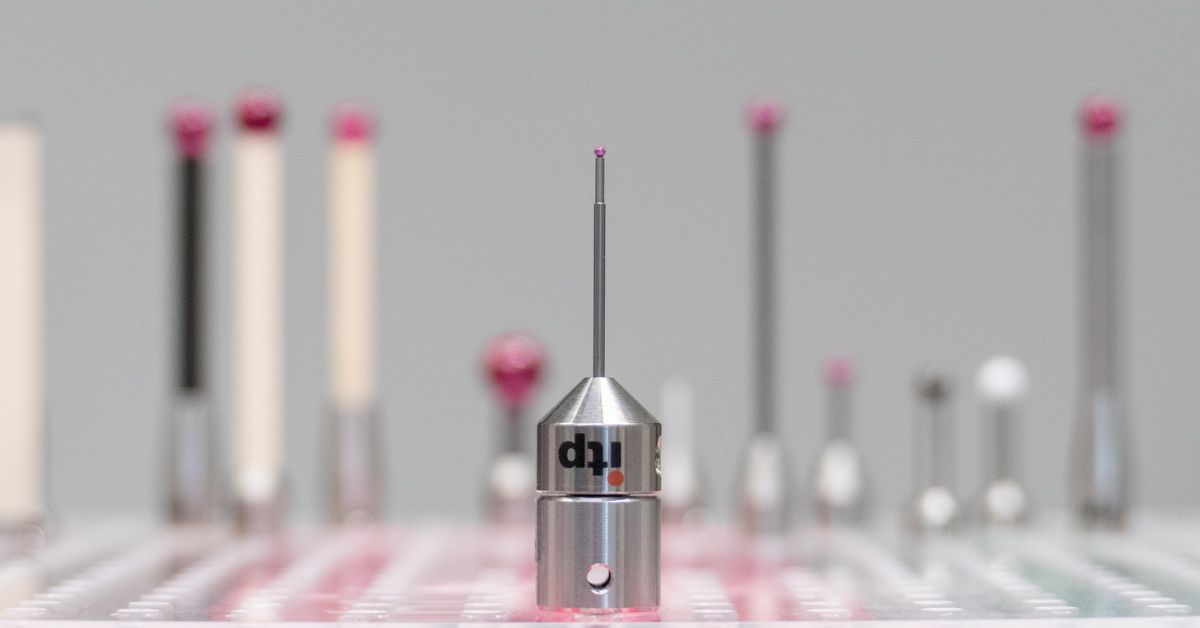
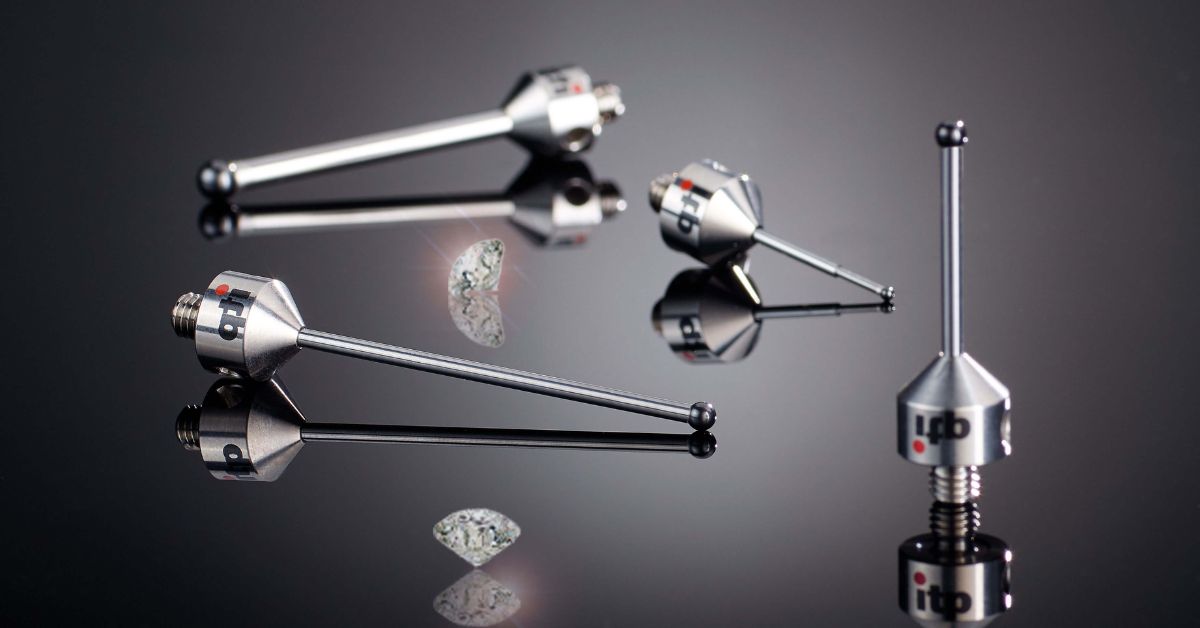
Using high-quality replacement styli is just as vital as the sphere itself. If the stylus stem bends under contact pressure or the tip is worn, the math established during calibration falls apart. Rigid extensions and thermally stable carbon fiber stems complement the precision of the ISO-standard reference sphere.
Accessories like mounting bases and magnetic stands also play a role. A base that wobbles introduces vibration. To maintain compliance with ISO 10360 performance tests, the fixture holding the calibration sphere must be absolutely rigid. Every link in the chain, from the table mounting to the stylus tip, contributes to the final accuracy.
Benefits of Partnering With a Trusted Supplier
Navigating the technical requirements of metrology standards can be complex. Working with a dedicated supplier simplifies the process of finding compliant tools.
itpstyli specializes in meeting these precise needs for CMM and machine tool professionals. With a massive inventory of replacement styli and accessories, we help facilities maintain their compliance without long lead times. A trusted partner guarantees that the products you receive meet or exceed the necessary ISO grades for your specific application.
Furthermore, expert support helps you select the right materials and accessories. We stand behind our products with a commitment to quality and customer satisfaction. If a product does not meet your expectations, our straightforward return policy protects your investment.
Confidence in your measurement process starts with every component you trust. For those committed to excellence, understanding ISO standards for calibration spheres shapes the backbone of reliable results. The right choices today set the standard for tomorrow’s achievements. Choose quality, demand traceability, and elevate every outcome.

