

 sales@itpstyli.com


7/13/26
Tips for Seamless Custom Stylus Configurator Use
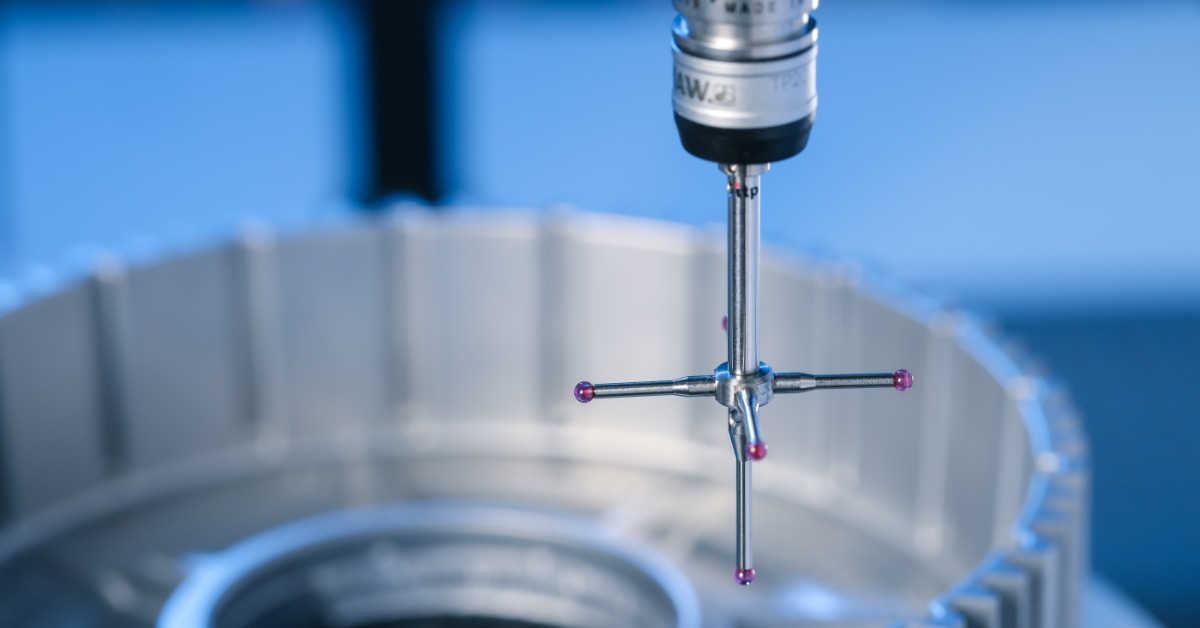
Custom styli help inspection teams match a probe setup to a part challenge without having to start from a blank drawing. A configurator makes the process more approachable, but accuracy still depends on the details entered at each step. Seamless use of the custom stylus configurator begins with understanding what the tool is asking and why each choice affects the finished build.
Understanding What the Configurator Is Optimizing

A custom stylus configurator translates measurement requirements into a build that must thread correctly, reach the intended feature, and withstand inspection demands. Each selection narrows the design toward a workable stylus, so the best results come from treating the configurator as a technical planning tool.
The goal is balance. A stylus that reaches deep into a part still needs enough stiffness to support repeatable measurement. A tiny ball might fit a narrow groove, yet the rest of the assembly must suit the probe head and access path.
Prep Work: What To Gather Before You Open the Configurator
Start with the probe system or machine connection, so the thread choice is grounded in the equipment already on the floor. From there, confirm the feature being measured and the access available around it.
Part drawings help, but useful details often appear in the inspection setup itself. Clearance near the shoulders or bores affects whether a straight stylus will work comfortably. Measurement depth shapes the length decision, and tolerance expectations influence how much rigidity the build should prioritize.
Gathering that information ahead of time helps the team move faster without rushing. It reduces the risk of choosing a stylus that looks right onscreen but creates trouble during qualification.
Step-by-Step: How To Move Through the Configurator Without Errors
A clean configurator experience comes from moving in order and pausing before each technical decision. The steps below follow the logic most users need: define the build, confirm the contact point, shape the stem, verify the connection, and respond to manufacturability notes before submitting.
1. Selecting the Right Base Type
Begin with the base type because it sets the direction for the rest of the stylus. A standard straight build is suitable for many inspection routines when the probe has a direct path to the feature being measured. More specialized geometry should be reserved for situations where access or part shape clearly requires it.
Choosing the base type first keeps later decisions from drifting. Once the general form is correct, ball size and stem length grow easier to evaluate in context.
2. Choosing Ball Material and Diameter
Ball selection should connect directly to the surface being measured. Ruby is commonly used in many stylus applications because it provides a durable contact point for routine inspection work. Other ball materials suit surfaces or environments that call for different contact behavior.
Diameter requires the same care. A larger ball improves access to broader surfaces and helps avoid unwanted shanking in some setups. A smaller ball reaches fine features, but it leaves less room for error when the approach path is tight.
3. Defining Stem Material and Length
Stem length is where many custom builds succeed or struggle. Extra reach solves one problem, then introduces another if the stylus loses stiffness. The configurator might allow a long stem, yet the inspection goal should determine whether that length is truly suitable.
Material choice shapes that decision. A rigid stem ensures repeatability as reach increases, while lighter options reduce mass in sensitive probe setups. The important step is to define the shortest practical length that cleanly reaches the feature.
4. Thread Standards and Compatibility
Thread selection ties the custom stylus back to the probe system. Even a well-designed stylus will fail at setup if the connection does not match the probe module. Confirming the thread standard before moving forward protects the order from one of the simplest avoidable errors.
Check the thread callout against existing components, then compare it with the configurator selection before approving the build. Small-thread assumptions create delays that careful review prevents.
5. Reviewing the Configurator’s Manufacturability Feedback
Manufacturability feedback is a safeguard, not an interruption. If the configurator flags a dimension, material combination, or geometry concern, treat the message as useful engineering input. The note might point to a build that needs revising before production.
Review these prompts slowly. A warning does not always mean the idea is impossible, but it does mean the design deserves another look. Adjusting a length or ball size at this stage is easier than troubleshooting the stylus after it arrives.
Common Mistakes Users Make and How To Avoid Them
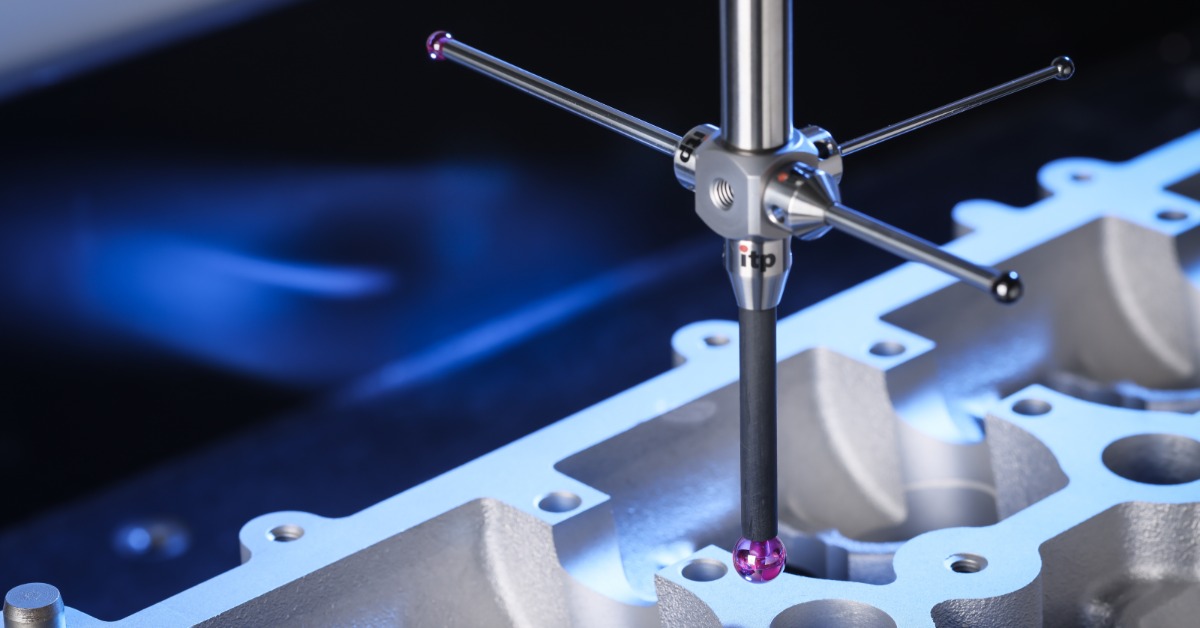
The most common mistake is designing around a single challenge and ignoring the full setup. A user might focus on reaching a recessed feature, then overlook how the stylus approaches the part during actual probing. Access needs to include the path into the feature, not just the measurement point itself.
Another frequent issue is carrying over dimensions from an older stylus without confirming why those dimensions worked. Replacement builds should still be checked against the current probe setup. Inspection routines change over time, and a copied configuration might not match the job as closely as expected.
Users should avoid assuming that every longer stylus is a safer choice. Reach helps only when it serves the feature. Beyond that point, excess length increases sensitivity to qualification and could reduce confidence in repeated measurements.
When To Escalate to Engineering Support
Engineering support is appropriate when the configurator raises a concern that the user does not resolve with a simple adjustment. Complex access conditions, unusual part surfaces, and tight clearance near critical features deserve a second technical review. Escalation protects the inspection process before a custom order moves forward.
Support is helpful when the measurement goal is clear, but the build path is not. When a standard configuration does not seem like the right fit, itpstyli helps inspection teams work through application-specific challenges and identify a stylus design that supports accurate measurement. Whether the need involves a specialized setup or a Same-day CMM probe stylus, the focus remains on finding a solution that delivers reliable inspection results.
The right custom stylus should make an inspection setup easier to trust before it ever reaches the machine. Strong choices in the configurator turn measurement goals into a build that fits the way the teams work. For teams focused on seamless use of a custom stylus configurator, itpstyli helps keep custom orders ready for accurate inspection.