11/18/25

How Often Should You Replace Calibration Spheres?
Precision in coordinate measurement depends on a reference you can trust. Each day, calibration spheres shape the heart of CMM accuracy. They are quietly but decisively guiding results for critical industries.
Yet even the most reliable reference artifact faces wear, contamination, and the realities of daily use. That leads to a vital question: how often should you replace calibration spheres? Achieving repeatable results and confident measurements starts with knowing when to act.
The Role of Calibration Spheres in CMM Workflows
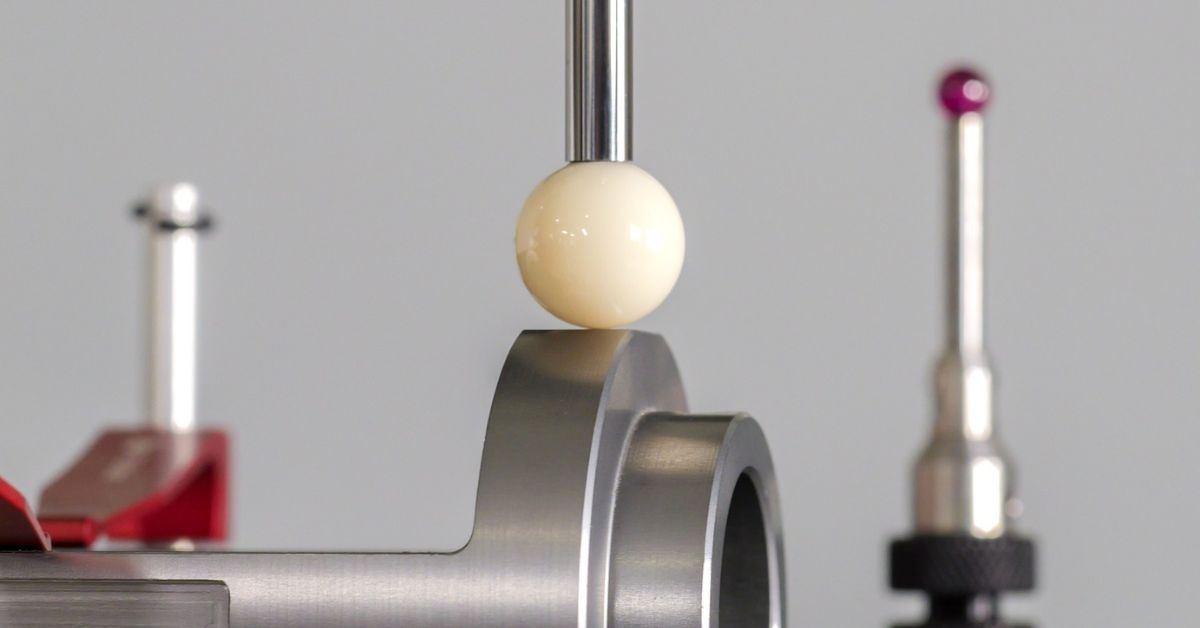
Before diving into replacement schedules, it's essential to appreciate the function of a probe calibration sphere. Calibration spheres provide the stable reference point vital for CMM accuracy. Their precise diameter and roundness let your machine calibrate each probe tip and correct for variations. This builds a foundation for reliable measurement. Any change or flaw in the sphere will directly affect your system’s measurement accuracy.
Mechanisms of Wear and Degradation
Calibration spheres are robust, but they are not indestructible. Several factors contribute to their gradual degradation over time. Understanding these wear mechanisms helps you know what to look for during inspections.
Surface Abrasion
The most common cause of wear is the repeated contact from the stylus tip during the qualification cycle. While the force is light, thousands of cycles can slowly wear down both the sphere's surface and the stylus tip, especially with abrasive ruby or silicon nitride styli.
Residue Buildup
Airborne particles, coolant mist, and oils can build up on the sphere's surface. If not cleaned properly, this residue can harden, altering the sphere's effective diameter and creating a false reference surface.
Corrosion and Pitting
Spheres made from materials like stainless steel can be susceptible to corrosion or oxidation, especially in humid environments or when exposed to certain chemicals. This creates pitting and surface irregularities that destroy its reference quality.
Thermal Cycling
Fluctuations in shop temperature cause the sphere and its mounting stem to expand and contract. Over time, this thermal cycling can create stress and potentially affect the stability of the bond between the sphere and the stem.
Accidents and Mishandling
Dropping a sphere, striking it with a probe during a rapid machine move, or using improper cleaning agents can cause immediate and irreparable damage. This damage includes cracks, chips, or deep scratches.

Key Signs It’s Time for a Replacement
Your sphere will provide clear signals when its service life is ending. Paying attention to these indicators is crucial for maintaining measurement integrity.
Visible Wear
Look for the visible mechanisms of wear we just discussed. A noticeable dulling of the surface finish is a clear sign. Use magnification and good lighting for a thorough inspection.
Repeatability Drift
If you notice your probe qualification results are becoming less consistent, it could point to a degrading sphere surface. The standard deviation of your probing results may start to increase.
Persistent Residue
A sphere that remains dull or tacky even after proper cleaning with an approved solvent likely has a permanent film of hardened contaminants that can no longer be removed.
Failed Reference Checks
Comparing your working sphere against a master or certified sphere is a definitive test. If the measured diameter or form deviates from the certified values beyond your tolerance limits, the sphere must be retired.
Damage to Stems or Threads
Inspect the mounting stem and threads for damage, bending, or stripped threads. A compromised mount makes it impossible to seat the sphere securely and repeatably in the machine.
Establishing an Inspection and Maintenance Cadence
A proactive maintenance schedule prevents measurement failures before they happen. A tiered approach works best.
- Daily: Before the first qualification of the day, wipe the sphere with a lint-free cloth and an approved solvent like isopropyl alcohol to remove any dust or oils.
- Weekly: Perform a detailed visual inspection. Look closely at the primary contact zones for any early signs of scratching or surface changes.
- Monthly: Conduct a reference check and compare your sphere to the last known value or its certification report. Document these results in a control chart to track drift over time.
- Annually: Consider sending your primary reference sphere to a third-party lab for recertification. This provides a traceable confirmation of its geometric properties and is often a requirement for quality audits.
Best Practices for Cleaning and Storage
Proper care extends the life of your sphere. We mention a lint-free cloth and solvent; ensure you only use these tools to prevent damage. The best practice is to apply the solvent to the cloth and not directly to the sphere. When not in use, protect the sphere with its original cover and store it in a designated, secure location away from contaminants and temperature extremes.

Replace vs. Requalify: Making the Right Call
If a sphere shows minor, consistent drift on a control chart but has no visible damage, you might continue to use it by updating its diameter value in the CMM software. This is requalifying.
However, replacement is the only safe option if there is any visible damage, if the surface is contaminated beyond cleaning, or if its form error (roundness) exceeds specifications. A scratch creates an unpredictable surface that makes reliable qualification impossible.
In high-risk industries like aerospace and medical device manufacturing, the policy should be conservative. For these applications, spheres should be replaced at the very first sign of degradation, with no attempt to "use it up."
The Value of Documentation and Backup
Implementing a system to track the lifecycle of each sphere is a best practice. Assign a unique ID to each sphere and log its usage hours, number of qualification cycles, inspection results, and control chart data. This documentation provides a clear, data-driven basis for replacement decisions.
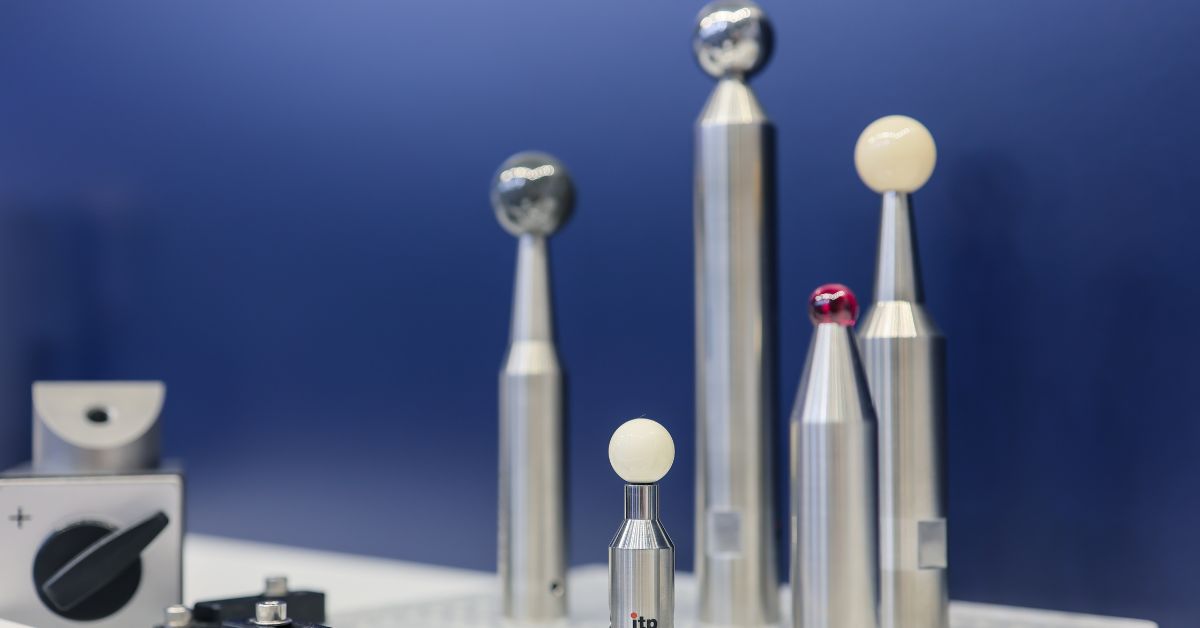
It is also wise to have a backup sphere on hand. Having a qualified, ready-to-use replacement prevents costly downtime when your primary sphere unexpectedly fails an inspection or is damaged. For ultimate confidence, some labs purchase matched sets of spheres, using one as the daily working standard and keeping the other pristine as a master reference for comparison.
At itpstyli, we understand that precision starts with a perfect reference. Our extensive inventory includes a wide range of high-quality replacement styli and calibration accessories to meet your immediate needs. With quick fulfillment and expert support for both standard and custom solutions, we help you maintain the integrity of your measurement processes without delay.
When performance or inspection results change, you should replace calibration spheres to protect your measurement quality. Visit itpstyli’s catalog to find your next calibration solution.

